Laman

Thursday, October 30, 2014

Happy Halloween 2014

 If you are having a party tomorrow night, or over the weekend, here's the roundup of Halloween crafts from the blog over the last few weeks:

Happy Halloween!

Halloween Monster Eyes

I always feel like, somebody's watching me.

Last minute Halloween decorations needed? Here is your answer - simple and easy monster eyes.


What I Used:
Eyes Template
Black Card
Scissors

[right-click and save to your computer to print]

 Using the eyes template, draw around the outlines on to black card and cut out the shapes with 
sharp scissors:
Add your eyes to walls or doors to make sure any trick or treaters know they are being watched:
If you have glow in the dark card/paint - these would be amazing! But you can also add 
decoration with glitter, glue and paint to personalise the decorations:
Balloon Ghosts here.
 see you next time x

Wednesday, October 29, 2014

Glitter Trick or Treat

Looking to add a bit of sparkle to your Halloween decorations?  Glitter Glue is your answer.


What I Used:
Glitter Glue
Template
Acetate Sheet


The method to create these transfers are largely similar to the glitter spiderwebs and glitter transfers I have created before.   Simply print or draw a template - I chose 'trick or treat' in an appropriate font - and trace this over an acetate sheet with the glitter glue.  I find outlining first the easiest method:
...before filling the space.  
Be sure to remove any air bubbles and make sure that there are no empty or thin areas.
I also mixed up my glitter glue colours: 
Leave the glitter glue to dry fully.  I leave mine overnight to make sure it is fully set.  You'll know when this has happened as the glitter glue will start to peel away from the acetate sheet:
 They are easily removed and can then be used to embellish and decorate!
 Glitter Spiderwebs here and Glitter Spiderweb Placemats [with added mummy glasses] here.

Honeycomb pumpkins here.
see you next time x

Tuesday, October 28, 2014

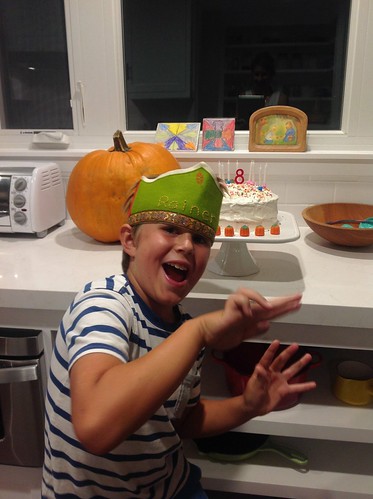
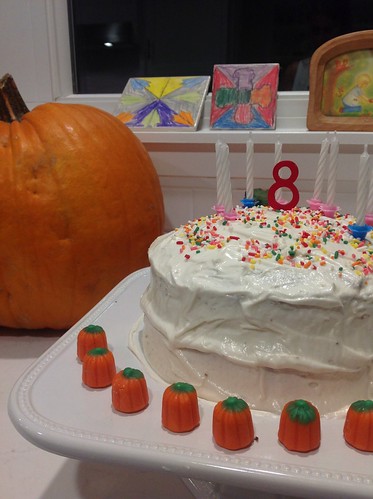
rainer's birthday

Rainer's birthday. 8! Rainer's birthday. 8! Rainer's birthday. 8! Rainer's birthday. Rainer's birthday. Rainer's birthday.

Rainer's birthday.

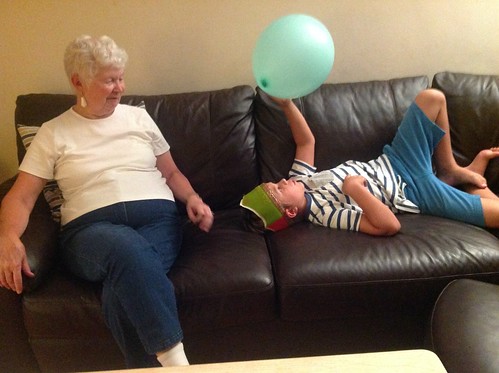
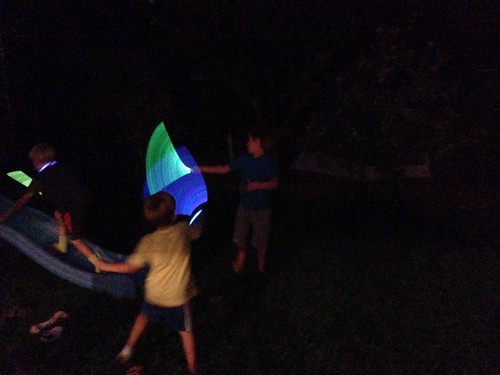
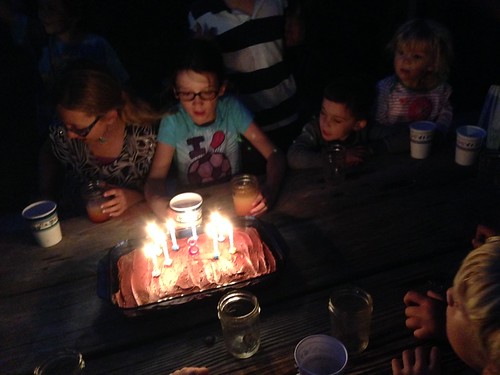
 Rainer turned eight last week!  We had a little family party for him on the actual day and a kid party the weekend before, on Friday evening.

For his family party I made his favorite dinner (Moraccan chicken couscous) and a chocolate cake with white frosting.  My parents came up and we had dinner, presents, and cake in that order. 

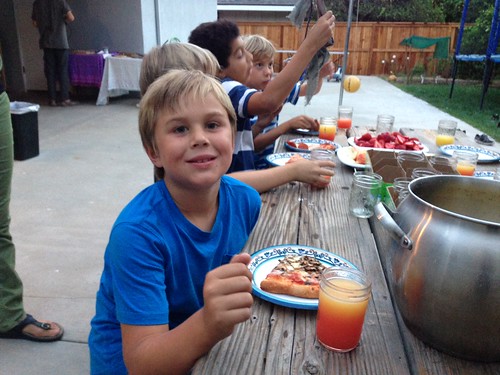
We don't usually do an additional kid party, but this year we decided to and it turned out really fun.  Ken pulled it off almost entirely on his own.  I work full time and was in charge of making a cheeseball + veggies and a birthday cake, plus collaborating with Rainer on a birthday playlist.  Ken came up with the theme, made cute invitations, and set up everything.

The theme was "witchcraft and wizardry" (in the style of Harry Potter) and Ken set up a "potions" station (super popular) and a wand making station (using sticks from the yard which people sanded down and added gemstones and leather wraps).  I'm not much of a blogger anymore so I lack good photos of the stations or wands, but it was really neat.  We served pizza and "sunbursts" (orange juice mixed with 7-Up and grenadine syrup). 

All in all it was a really good birthday!  And his birthday really kicks off our fall.  The holidays are ramping up!

And, a little walk down memory lane--

Rainer age 7
Rainer age 6
Rainer age 5
Rainer age 4
Rainer age 3
Rainer age 2
Rainer age 1

Embroidery Hoop Spider Web

As Halloween approaches, this is a quick and easy last-minute craft that can create some pretty impressive decorations to greet trick or treaters, or decorate for a party - if you have a hoola hoop in your home - you must try a huge version!


What I Used:
Embroidery Hoop
White Wool
Plastic Spiders

To start, remove the outside hoop and create a horizontal tie across the inside hoop with a
 length of wool:
...make sure the wool is taut and secure either end with tight knots.
Repeat as many times as you like around the hoop:
Next, cut a length of wool around 2-3 times the circumference of your hoop [to give you
plenty to work with] and secure it with a knot in the center of the hoop:
.....wind and weave the wool around the center a number of times to secure:
...and then create a knot 1cm from the center:
....before weaving and winding the wool around each straight:
...keep the wool taut and be as haphazard in your lines as you wish:
Continue for the space of the hoop and then finish with a tight knot at the end:
Neaten everything up by trimming the ends.  In the center, trim close to the knot and then use
the wool that was wound around the center to hide the loose end.
Enclose all the ties with the outside hoop:
...and the fun begins.
Finally, attach plastic spiders to the web with strong glue and leave them to dry fully:
....and your spider webs are complete!
I displayed mine in a frame, but these can hang freely and you can stick the spiders/creatures
 on both sides - or even leave some threads loose and have the spiders hanging from them!
If you fancy a spiderweb project that can be started this evening, left overnight to dry and complete by morning - plus, they are made from GLITTER [!] - step right this way.
see you next time x