Laman

Monday, April 27, 2015

Autumn Leaves Tutorial

A couple of years ago I made another autumn themed cake.  It had a lot of leaves on it. A lot
They hid the myriad cracks, craters, bubbles and other blemishes that were a feature of my early fondant cakes. 
I've learnt a few things since then. Thankfully! So I can decorate with a more minimalist autumn look these days....


Autumn Leaves Tutorial

You'll need:

Sugar paste in autumn colours*
Small fondant roller 
Leaf cutters
Bone tool
Dresden tool / veining tool
Petal pad
Egg box for drying (the shallower "lid" part works particularly well)
Dusting colours - 
Flat tipped brush 

*(I'm using a mix of fondant and CMC (tylose) paste here, but you can use pure CMC paste/ gum paste. To get russet, colour the paste with red and brown gel). 


Roll out paste, and cut out leaves


Thin and curl leaf edges
with bone tool 


                                                      Add veins.


Dry leaves with edges curled up


 Once dry, dust with dusting colours 


 Add little brown dusting to enhance the veins


All done.


Autumn Themed Wedding Cake


Happy decorating! 

xxM

Tuesday, April 21, 2015

Taking Inspiration From... Yourself!?

Lately, I've been going through old coordinate photos and wondering how some of my earlier coordinates look so good to me now. Sometimes, taking a step back (or in my case, letting about 4 years pass) allows you to look at yourself a bit more objectively, plus hindsight allows you a much better understanding of past situations and experiences. Focusing on your personal style as a way to come up with new ideas also prevents you from getting the urge to compare yourself to others, and simply allows you to build on your own successes.

While I have no burning issues with my current style, I sometimes can't help thinking it's not where I had planned on going. I've ended up putting together the perfect wardrobe for daily wear-- which is good, as I wear lolita wherever I go: work, errands, hanging out with friends, etc. But I rarely look at recent coordinates and feel there's anything special about them. I mainly stick to black dresses, small hair accessories, and little to no jewellery. 

I can't help feeling a bit of nostalgia for my older photos, so I'm taking things back to 2011 in hopes of figuring out what it is I want to change.

May 2011

This was my first full on lolita coordinate where nothing was half-arsed, I had a real petticoat, and I made an effort with my hair and makeup. A lot of hard work went into putting that outfit together, and I was especially careful with it seeing as it was my outfit for London Expo. There's a lot of red going on but I think it remains balanced. I think I like this outfit so much because it's precise, carefully coordinated, and unapologetically bright. It's certainly matchy-matchy, but I like it for that reason. And as an aside, I wish Bodyline would re-release those shoes so I could get the next size up as sadly, those amazing shoes never fit me properly!

June 2011
This... this was a good outfit. I love the otome kei vibe and very simple use of colour. Again, very matchy with all the red, but who cares? I think the simplicity of this look really suits me, and it makes me want to get into otome kei properly. I think wearing lolita super casually can make you look a bit frumpy, so it would be nice to own more dresses which aren't made specifically for use with a petticoat like this one.

June 2011
Still summer 2011! What was happening that season that made me put together such great outfits?! This was the day I took the photo that was to become my blog banner. I think I liked this outfit due to its unusual shades of pink and brown. The headbow is the waistbow from the skirt, with a plastic headband threaded through it. Once again, effort went into the hair and makeup, and everything in the outfit has its place, from the cute bag bringing out the pink in the skirt print, to the cupcake necklace. I must say, I really love this outfit. Great job, 17-year-old me! I can't help but wonder why I don't still wear large headbows sometimes. I think I'll rectify that!

So, my conclusion? I think I used to put a lot more care and attention into my outfits. They were never heavily accessorised or OTT, but I definitely think I've become a bit lazy when it comes to lolita-- hence why the vast majority of my outfit pictures never make it online! I know it's because I wear it all the time now, and back then it was just a special occasion thing. Still, I prefer how I looked in lolita then, to how I look now. Perhaps the fact I've gone from teenager to adult-in-their-twenties has allowed some of the whimsy and softness to leave my coordinates at times, plus the general lolita climate has changed a lot since then, stylistically speaking. Sweet was still very much the dominant force in 2011, but now it's all about OTT classic, and I think I've subconsciously felt the need to wear my clothing in a more mature, refined way.  Even how I do my hair has completely changed, and I find myself trying out up-dos and wearing extensions to look more mature. Looking back at these pictures, though, I don't think my sweet lolita style was ever garish or tacky, and I simply began to second-guess myself by spending so much time agonizing over what the current trends are. One solution for my overly casual outfits would be to try out otome kei, as I mentioned before. It's still a cutesy fashion (with retro sensibilities I love), but it's more suitable for day to day life, and would mean I could "save up" lolita for days when I want to go all out again, Failing that, I think I should at least try to make more effort when going to meetups, instead of dressing exactly how I would any other day!

Going forward, I still want to continue on with my old school lolita quest, but I also think I'll go back a few years and look over the sweet lolita trends I used to love, which almost seem old school to me now! The ever popular classic lolita doesn't suit me sadly, so it's time I focused more attention on what does, and what made me feel so excited to wear lolita in the first place. I used to obsess over Angelic Pretty, and although it's probably not apparent in these photos, my aim was to one day graduate to being an all pastel-wearing sweet lolita.

It's like I'm regressing! Surely the natural order is to graduate from sweet to classic as you get older? I don't know... somehow, sweet lolita always pulls me back in again. Even if I only wore super pastel sweet dresses on special occasions, it would be great to finally have the confidence to look as unashamedly cutesy as I've always wanted to. It feels almost like a final hurdle in terms of self confidence. If I can wear an all pastel outfit comfortably, from a large headbow to pastel OTK socks, I'd feel like I'd come full circle.

Do you ever look over older photos of yourself? I'd love to know if you've ever tried to return to your roots in a certain style, or revisit past aims you forgot about! Thanks for reading, and I look forward to your comments!  

Sunday, April 19, 2015

Sea Themed Cake Pops

I almost forgot about these - snapped on my phone amidst the chaos of birthday prep a month ago. But a busy March, transitioned into a busier April and I'm needing to play a little catch-up.
So, this is a gone-fishing kind of filler while I work on some meatier posts.
;o)


Sea Themed Cake Pops


You'll need:

  • cake balls ready for dipping (See how I make cake pops here.) 
  • cake pop sticks
  • melted white chocolate, coloured aqua/ sea green
  • finely crushed cookie crumbs
  • small edible fish (of course most fish are edible... but you know what I mean!)  
  • piping consistency royal icing


After you've secured the cake ball onto the stick with chocolate, dip it  into the aqua-coloured chocolate; tap it gently on the side of the bowl to allow the excess chocolate to drip off.


Before the chocolate sets completely (but has stopped dripping), dip the base of the cake pop into finely crushed cookie crumbs. 


If you get the timing right, and the chocolate hasn't set yet, the fish will stick to the cake pop. Otherwise use a little chocolate to glue it in place. 


Once the chocolate has set completely, pipe on small dots of royal icing to imitate bubbles (you can use melted white chocolate, but my chocolate piping skills are not so hot, so I'll stick with what I know!)  It's an important step - the bubbles really bring it to life (breathing air does that, I guess...!)


Nestle the finished cake pops in a bed of cookie crumbs to serve (for the realistic ocean floor look!).

Happy creating!
xxM


Friday, April 10, 2015

How to Make Felt Coasters

Hello! Let's not look chocolate in the eye again for a while.


Today, I'm back with a simple DIY to dress up cheap and cheerful cork coasters with a little felt,
fabric glue and needle and thread [if you like].
It's a perfect craft for personalising, can involve the kids and makes a great gift.

What I Used:
Scissors / Needle / Thread


To start, use the cork coasters to cut your felt pieces to size - don't worry too much about cutting
 the perfect circle - if you don't think you can cut the round perfectly, cut outside the lines as you
 can then trim the fabric at a later stage:
Once your felt rounds have been made, cut any embellishments or design elements that you would like to be added.  I used my Sizzix machine to create two simple star die cuts [you can create a template to cut around or  buy pre-made embellishments to create any design you want on top]:
You could attach your embellishments with fabric glue, however; to keep the embellishments flush
 with the felt top, I used a secure blanket stitch around the outside of my stars:
...this also added a bit of interest, texture and was another way to introduce another shade of 
grey to the design!

Finally, attach your felt top to the cork coaster.  I used fabric glue as it dries clear, is durable, strong and easy to use - but any strong glue will do [avoid using hot glue if you can as this will raise your felt, adding bumps to the top].  
If you felt circle is too big for the cork, centre your design and smooth the felt from the centre outwards - you can trim the excess once dried.  However; if your felt circle has been cut too small, attach one side first, allow to dry completely, then pull the felt gently to meet the opposite side and glue in place - bull dog clips or paper clips will help keep it in place as it dries.
Once dried, your new coaster are ready to use or gift:
Have a great weekend x

Wednesday, April 8, 2015

Must-Make Chocolate Tart

Would you feel I'm rushing you if I said it's time to move on from Easter and use up all those left over chocolate eggs?
Ok, maybe you don't have any left  (I have a friend who makes a point of eating all of hers on Easter Sunday - just to make sure they don't tempt her again on Monday. Makes sense...!); well, then use normal baking chocolate. Because trust me  - this is a  must make chocolate tart! And it's so easy. It's my new go-to desert.
 I first made it using only 70% dark chocolate. But I've modified the recipe, and lightened it up a bit. It's better.  Not too bitter, not too sweet. Rich and chocolatey.  It's what Easter eggs want to be when they grow up ;o)


Must-Make Chocolate  Tarts
Recipe adapted from Nigella 

Preheat the oven to 160'C
Grease 2 x 20cm tart pans


Base

300g cookie crumbs
100g butter
160g dark chocolate

Melt the butter and chocolate together in a double boiler, or slowly in the microwave.
Mix well with the cookie crumbs and press firmly into the base of your tart pans.

Bake for 10 minutes at 160'C


Filling

250g dark chocolate - I used half  Callebaut 70% dark callets, and half normal baking chocolate (dark)
185g butter
4 large eggs
4 large egg yolks
75g caster sugar

Melt the chocolate and butter together in a double boiler. Cool slightly

Beat the eggs, yolks and sugar together until doubled in volume.

Pour the chocolate mixture into the egg mixture. Beat well.

Pour into the prepared tart pans.

Bake  for 10-12 minutes.

Cool completely.

Dust with icing sugar before serving.


Enjoy!

xxM 

Monday, April 6, 2015

some scenes from easter and april goals

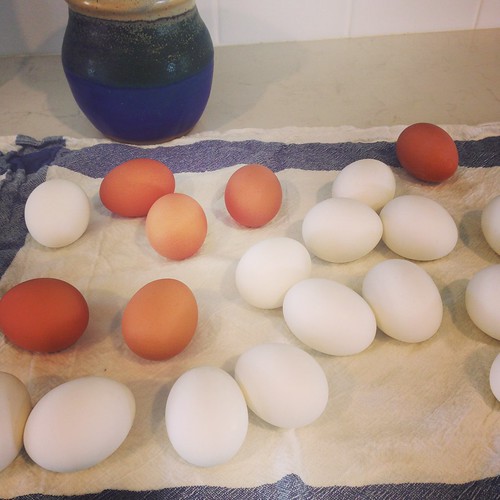
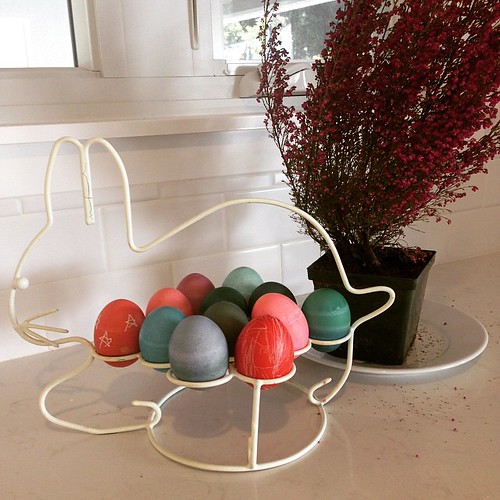
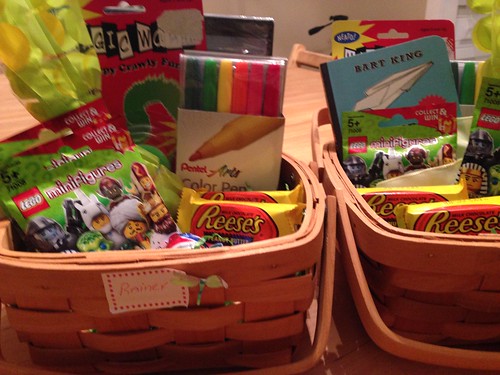
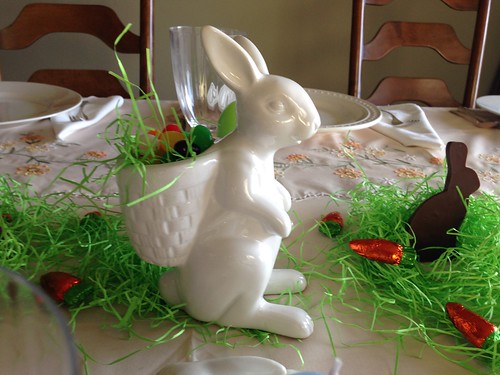
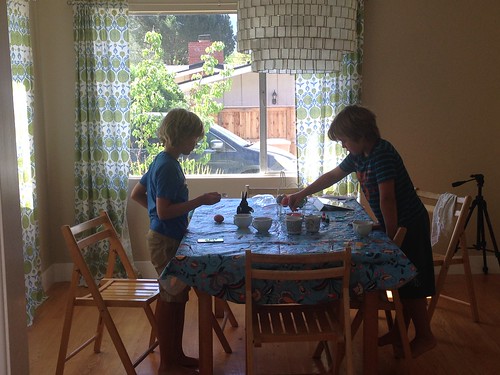
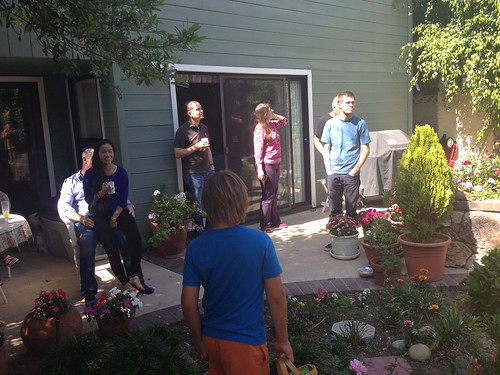
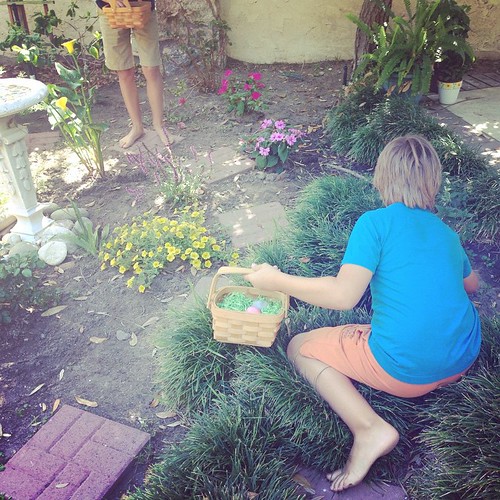
easter 2015 Eggs dyed. easter 2015 easter 2015 easter 2015 easter 2015 easter 2015 Easter egg hunt. easter 2015
We had a quiet and fun Easter. On Saturday we dyed eggs and on Sunday we went down to my parent's house for lunch and an egg hunt.  I like simple holidays.

So want to know how I did on my March goals?
:: for the health goal I did really well on walking.  I'm loving my hill walks and Saturday hikes!  This is a huge win for me because I'm naturally so sedentary.  So yay!  I plan to keep this up.  For the water and oranges--meh.  Didn't really do those goals (and instead of losing weight, I gained)!
:: reading.  I did read some of my book but I'm only about 20% through.  This continues to be a challenging habit to get into (until I find a book that really sucks me in).
:: spending freeze.  Win!  I didn't buy stuff or online shop until the end of the month when I visited Carrie.  Yay!

April Goals
:: walk.  I'm continuing my walking goal and aim to do 3 (uphill) walks per week (or 4 if I can swing it).
:: lose weight.  I know I said just last month that I don't want to do hard core dieting, but now I have to.  My weight is ridiculous.  My aim is to do 1400 calories a day.  My hard lines are NO cookies or sweets with the boys in the evenings, and NO going completely off the diet all weekend long.  Just those two changes should make a big difference.  Will report back at the end of the month.
:: no Diet Coke.  For at least two months I'm giving up all Diet Coke and switching to iced tea (unsweetened, obviously) instead.  This is hard for me but I hope it will help with my weight loss and cravings.

What are your goals this month?

PS--I've been posting a little bit on my style blog.  FaerieMB if you'd like to check it out.