Laman

Wednesday, July 30, 2014

How to Make Hair Bows


Hello!  This weather – seriously – beautiful.
Today, I have a very quick and versatile project should you be loving the weather, but not the effect it may have on your/your children/anyone you know hair.  Here’s how to dress up your up-do using the bow template DIY I posted a few weeks ago.
I used felt for my bows, but any fabric of your liking will work – the thinner the material, the less structured the bow, so you can also make this as casual or formal as you like with the fabric choice.

Start by printing the bow templates and cutting the design you like – I went for the larger, fuller bow [template 2] and cut my felt to size:
To fix it all together, I used my glue gun [you can see a review here], but fabric glue or sewing your pieces together will do the trick just as well:
[I added glue to the underside of the bow, fixing to the tails to help keep the structure and shape – the hot glue acts like a strengthening rod, holding the felt in place exactly how it is laid to dry].
Finally, I attached my bow to a hair tie – I decided to secure this in place with a needle and thread:
Alternatively, attach to a hair slide, or a grip – I added a small round of felt to the back of a bow to create a loop for the grip to hold on to:
If you have a headband, bandana or hair clip, pretty them up too by adding a bow.
See you next time x

Tuesday, July 29, 2014

Chai Cheesecake

I go through phases of loving chai tea, and then... not so much.
Right now, though, I'm in a loving phase.
It might last a while because I've come out of a looong, chai-free spell.
 I gave it up during pregnancy. Nothing to do with the caffeine or exotic spices. No, it was the fragrance. It nauseated me. Anything perfumed did, including my own deodorised body. Tricky that. (Overshare??)
And olfactory memories are so intense that it took me a while to shake off those scent-triggers.
But, at last I'm cured (and plan to stay that way!)
So, let's celebrate with a particularly deliciously decadent chai share.


Chai Cheesecake
Recipe by Tea, Cake and Create

Grease a 20-24cm round springform pan
Tip - turn the base of the springform pan upside down before clipping in place - it makes removing the cheesecake easier.

Base
300g butter biscuits , crushed
100g flaked almonds (plus extra for garnishing)
120g melted butter

Mix the ingredients together and press into the base of a round springform cake pan.
Cover with cling wrap and place in the freezer for 30min.

Filling:
Preheat the oven to 150'C

320g white chocolate
500g (2x250g tubs) cream cheese at room temperature
250ml cream (for a lighter texture substitute with buttermilk)
100g caster sugar
4 eggs
1 tsp vanilla extract
Chai spices

{Chai spices
2tsp ground cinnamon
1tsp ground ginger
1tsp ground cardamon      
1/2 tsp ground cloves
1/4 tsp nutmeg}


Method:
Melt the chocolate. Stir in the chai spices and set aside to cool a little.

Beat the cream cheese and caster sugar together until smooth.
With the mixer on low speed, add the eggs 1 at a time; scrape down the bowl between additions.
Pour in the cream and vanilla.
Beat well.
Pour the cooled chocolate and chai spices into the mixture. Beat briefly.

Pour onto the chilled base.

Bake in a water bath* for approx.1 hour  at 150'C. Leave in the oven, with the door slightly ajar, to cool. (See comments below on how to know when a cheesecake is cooked).

* For the water bath, use a roasting pan at least 4-5 cm larger than the springform pan with enough boiling water in it to come a couple of centimetres up the side of the springform pan.


White chocolate ganache.

150g white chocolate
50ml cream (35-40%fat content)

Melt the cream and chocolate together in the microwave (in 30sec bursts, stirring in between) or in a double boiler.


Pour over the top of the cheesecake.
Sprinkle with flaked almonds.

Chill for 4 hours or overnight before serving.


Enjoy!

xxM

Monday, July 28, 2014

Fimo Stationery Toppers

Fimo experiments Part 2 - let's give it another go on a smaller scale and fuel the stationery addiction in the process. Winning.


What I Used:
Fimo
Stamp Set
Icing Nozzle
Roller / Board

There have been some fab magnetic DIY fimo-type word projects in blog land recently [one of my faves is this], so the project I had of a similar theme was slightly modified in favour of this - fimo letter stamps for stationery toppers.  Here's how I made them.
I started by rolling a small round of fimo in to around .5cm thickness:
I then used an old icing nozzle to create my rounds:
...before stamping each round with a letter - pressing fairly firmly and not minding at all about the
 stamp imprints [you may know from this project and this, I'm all about it really]:
If I could offer any tips, it would be that I'd top the board with a sheet of baking paper as this 
will make removing the fimo 100% easier.  Trying to remove the rolled fimo from the 
wooden board altered the 'roundness' and, for one, caused this:
You can easily just make another, but still - learn from my mistakes and make it all a little easier.

Add your fimo pieces to a baking tray and bake in a google average 150 degree oven for 15/20 minutes:
Whilst they're baking, get your stationery supplies ready.  I went for paperclips, pins and magnets, which I was going to fix in place with my trusty glue gun [you can read a love letter to my glue gun here]:
Once the fimo had baked and been left to cool, I could get gluing.
A little hot glue and everything could be attached to the backs of the fimo alphabet pieces quickly:
...ready to be used:
Please don't mind my headless friends, no prizes for photoshop on this blog, I'm afraid.
Easy to personalise, mix colours and styles - pretty up your stationery in an hour.
see you next time x

Sunday, July 27, 2014

much needed Solvang anniversary trip

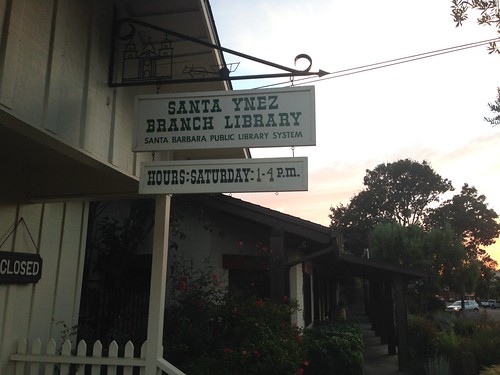
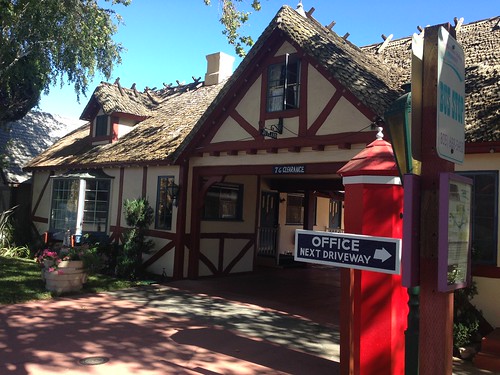
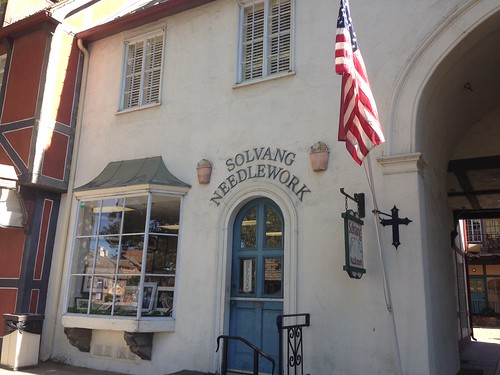
Solvang anniversary trip Solvang anniversary trip Solvang anniversary trip Solvang anniversary trip Solvang anniversary trip Solvang anniversary trip Solvang anniversary trip Solvang anniversary trip Solvang anniversary trip Solvang anniversary trip Solvang anniversary trip Solvang anniversary trip

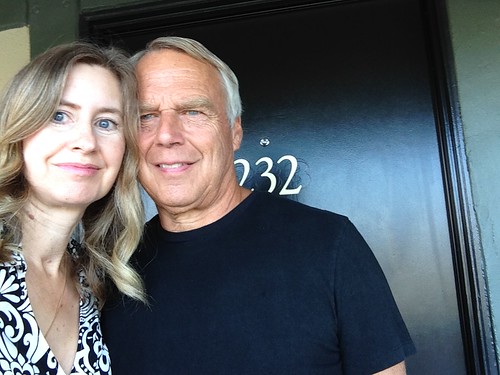
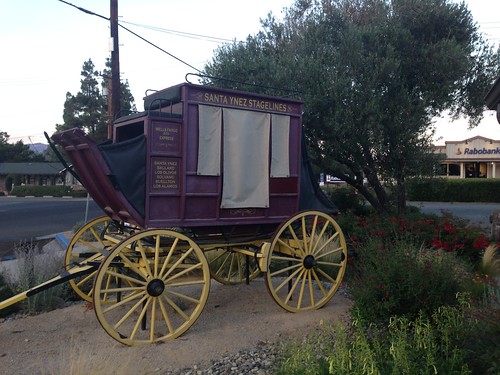
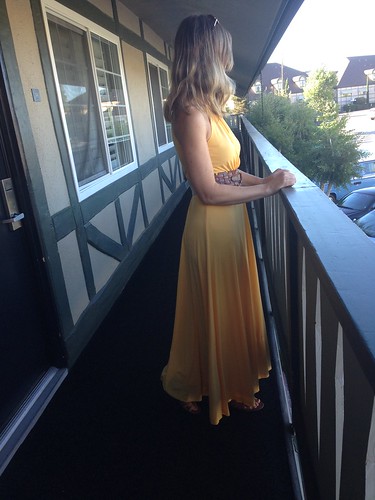
Ken and I were able to get away for two nights to the Solvang area (Solvang/Santa Ynez/Los Olivos) for a little anniversary getaway.  So fun and much needed.

Basically I copied all the suggestions from this blog post and everything was wonderful (thank you, Megan K. Graham)!

You can just read Megan's  post for more and better info, but here's my take:

:: we loved staying at the Hadsten House.  They have a lovely indoor pool (rare in California, but delightful to be out of the sun) and a large outdoor jacuzzi (the best of both worlds).  I was loving the whole pool scene and we relaxed a lot there.  It was just us for a lot of that time, which is ideal as far as I'm concerned.  The hotel rooms were large and modern and lovely.  And there is a restaurant on the property which was also very good!  They serve a lovely hot breakfast (included in the price of the room) and the dinner we had there was delish.  I had the Caesar salad with salmon.
:: the first day we had lunch at The Red Viking in Solvang.  We both love their smorgasbord--you can sample a lot of Danish foods that way.  Yummy!
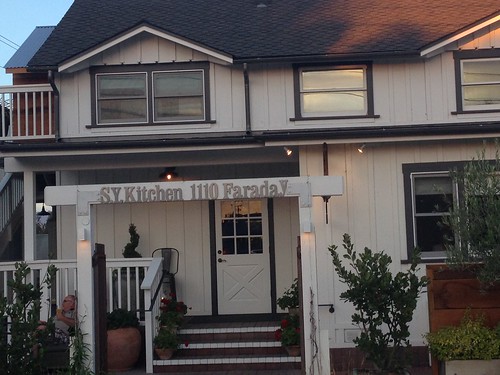
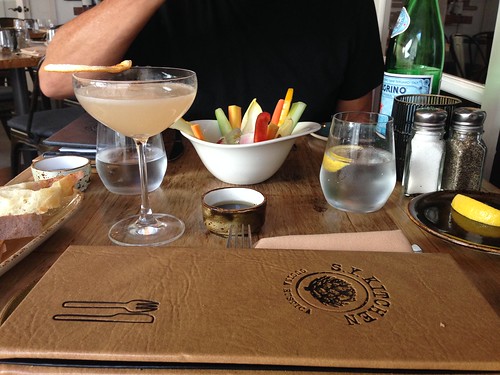
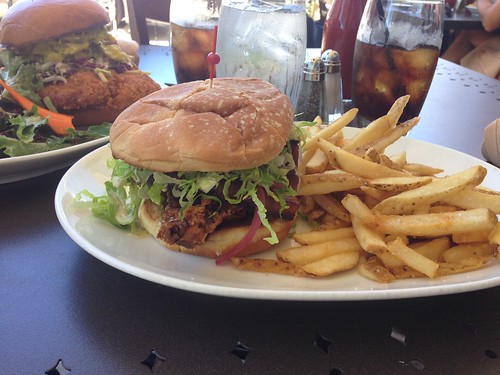
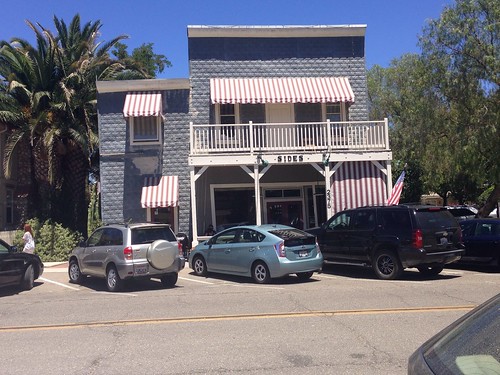
:: Gah!  SY Kitchen and Sides Hardware and Shoes (both restaurants recommended by Meagan) were both amazing!!  Will definitely visit both again when we have the chance to return.  Super special!!
:: we saw a live show at the outdoor theater--Forever Plaid.  Such a lovely setting and the show was really sweet.  (Plus, you can buy fresh warm cookies and coffee at intermission).
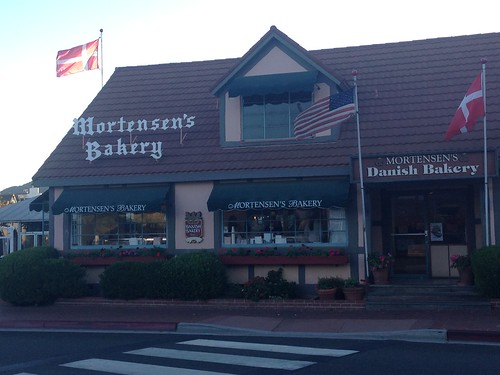
:: I bought a tub of butter cookies at Mortenson's.  I'm trying all the Solvang bakeries trip by trip.

I absolutely loved getting to spend time alone with Ken.  It was so great to reconnect and just hang out together.  It's hard to be able to BOTH get away together because of course I have to ask my mom to watch our kids (she is SO kind and generous to do it for us).  It's thrilling to just be a couple for a few days and to remember what brought us together in the first place.

Summer is speeding by.  I have about 3 more weeks before it's back to work.  I hope yours is lovely!!


Saturday, July 26, 2014

Book Review: Kawaii! Japan's Culture of Cute

I recently got the book Kawaii!: Japan's Culture of Cute off Amazon. I've been meaning to get it for a while after seeing a couple of reviews about it. I like to get books relating to Japanese street fashion so this seemed like a sensible choice.
What a cute cover!

Whilst my last Japanese street fashion book was content heavy but lacking in the photo department, I would say that Kawaii! has a great balance of the two. There is a particularly strong focus on artwork and artists, and after looking at this book I would like to know more about them and their work.

I spent several minutes on certain pages taking in all the details of certain drawings and paintings.

It is packed full of interviews with various kawaii artists, designers, models, etc. There are explanatory title pages explaining a certain aspect of kawaii culture, before divulging into different brands or products which fit into that category.

For me, the one part where the book is lacking is talking about kawaii fashion. This was a little disappointing given that the kawaii aspects of sweets, foods and even mayonnaise was covered, but the section on lolita fashion, for example, was given a mere four pages consisting of a brief interview with two models. It did not make for an informative read, but simply presented personal opinions and experiences. However, I realise this approach might appeal to some people.

Still, there's a section on the street fashion walks which happen in Harajuku which I found interesting. I can't imagine that idea working very well where I live!


This book is visually stunning, packed with high quality photos and artwork that are a pleasure to just sit and flick through on a cloudy day. The pages are large and the book feels sturdy. I would recommend this book to those with an interest in learning about the origins of kawaii as it goes pretty in depth about this. It would make a great gift, for yourself, or someone else!

Overall (with a slight drop in score due to how it breezes through kawaii fashion), I would give this 4/5, and I would definitely recommend it!

Do you own this book? What do you think of it? 

Friday, July 25, 2014

Shrinkies Plastic Feather Keyring


A few weeks ago I posted a pleather feather keyring DIY and after experimenting with Shrinkies in a 90s craft blast from the past, I decided to fuse the two together and see how it worked out [clue: it sort of did but by accident].

What I Used:
Shrinkies Clear Plastic
Sharpies
HolePunch / Scissors
Needle / Thread
Keyring

 I used a feather template originally created for this post to draw my feathers, but you can create 
your own free-hand or with a printed image, or be a Shrinkies ninja and draw straight on to the
 plastic with no help.
Once your outlines have been drawn, you can turn the plastic over and get on with the detail.
This was where I wished I had the white plastic for this project, as the gold-toned Sharpies I have don’t transfer particularly well on to the clear plastic, so my colours were limited to brown, with a little detail added with colour blocks.  Don’t forget that the plastic will shrink up to 7 times smaller, so although it may not seem particularly detailed, it will all shrink together nicely:
Remembering my cutting problems from my previous experiment, I was generous with the 
outline and tried to keep the lines as smooth as possible:
I also created attachments for the feathers, using a hole-punch at the ends so that they could be
 easily threaded afterwards………….
….before transferring the feathers to a lined baking tray and popping in the oven at 170 degrees:
I completely missed the process during my experiment, so set up camp on the floor by the oven, British Bake Off-style, and watched the feathers twist, turn and curl [as expected]……..
……and then not uncurl.  
Definitely not supposed to happen:
I took them out as quickly as I could and tried to flatten the plastic out – which worked a little, 
but there were still obvious kinks.  There was also a little ink transfer at either end:
I put them back in the oven to see if it would help flatten the plastic further, but it tended to 
continue to curl, so I admitted defeat and turned the oven off.  I tried placing a sheet of foil on top, 
with a heavy dish to prevent further curling and left the plastic to cool.  

Flattening with a dish worked much better than I though and unintentionally, the curves gave the feathers some detail and the ink transfer was not as noticeable as I originally thought:
To transform this all in to a keyring, I used embroidery thread to attach the feathers [for now], but I think I might replace this with cord, or plait the floss to add a bit more detail:
I varied the length of the thread for each feather:
...and attached them with a finding:
Ready for my keys:

P.S – if you have any idea why the feathers didn’t uncurl, please let me know!
P.P.S - make a whole bunch of these in brighter Sharpies and how excellent would they
 look for this DIY?!
Have a fab weekend - see you next time x