
If you are recovering from a weekend in the Sun and fancy a bit of sitting-in-front-of-the-TV crafting, this origami butterfly project is for you.
When I was younger, my Brother loved origami and had a book that taught us to make all kinds of animals - this is the only one I can remember [along with making t-shirts from £10 notes], but the simplicity of it makes it perfect for a whole range of embellishing and decorating.
All you need is a square of paper - any size, pattern or type will do, but here's how to create four butterflies from one sheet of A4 plain paper.
- Start with a sheet of A4 plain paper
- On the horizontal, fold the paper, taking the bottom left hand corner to meet the top of the paper
- Remove the excess paper on the right hand side to produce your square
- Fold in half on the diagonal, horizontal and vertical to mark the square
- Cut the square into four along the horizontal and vertical lines
- Repeat the diagonal, horizontal and vertical folds on each square

The four small squares that this produces are 10.5cm in size.
Next, on to the butterflies. I've tried to capture the steps and I'll outline them as best I can below, but please comment if you have any questions - I'm trying to find the book if I can too that taught me to source - I'll do my best to help!
Corner A = Top Left
Corner B = Top Right
Corner C = Bottom Left
Corner D = Bottom Right
- With the square placed straight, bring the top left corner (A) to meet the bottom right corner (D)
- Keeping the centre fold lines in place, bring the top left corner (A) back to meet the bottom left corner (C)....
- .....creating a triangle fold on the left side.
- Repeat on the opposite side, bringing the top right corner (B) to meet the bottom left corner (C), keeping the centre fold and then bringing the right corner (B) to meet the bottom right corner (D)
- Creating a complete triangle fold
- Next, fold the top left corner across the vertical centre line
- Repeat on the right side
- Turn the triangle over, so that the top point is facing you. Bend the top layer to overlap the bottom of the triangle
- Secure in place by folding the tip of the triangle over the bottom line
- Finally, fold in half across the bottom of the triangle and press along the fold

...when the fold is released, the butterfly can be seen and should also stand:


If any of the instructions seem unclear or you would like to practice, I would recommend trying the step-by-step with a larger square of paper [here, I made one large butterfly using just one large square made from A4 paper] - it helps if the above seems fiddly or is brand new:

There are a whole range of embellishments and decorations that could be made with these.
I have a small canvas box, which I decorated with a few butterflies:
I have a small canvas box, which I decorated with a few butterflies:


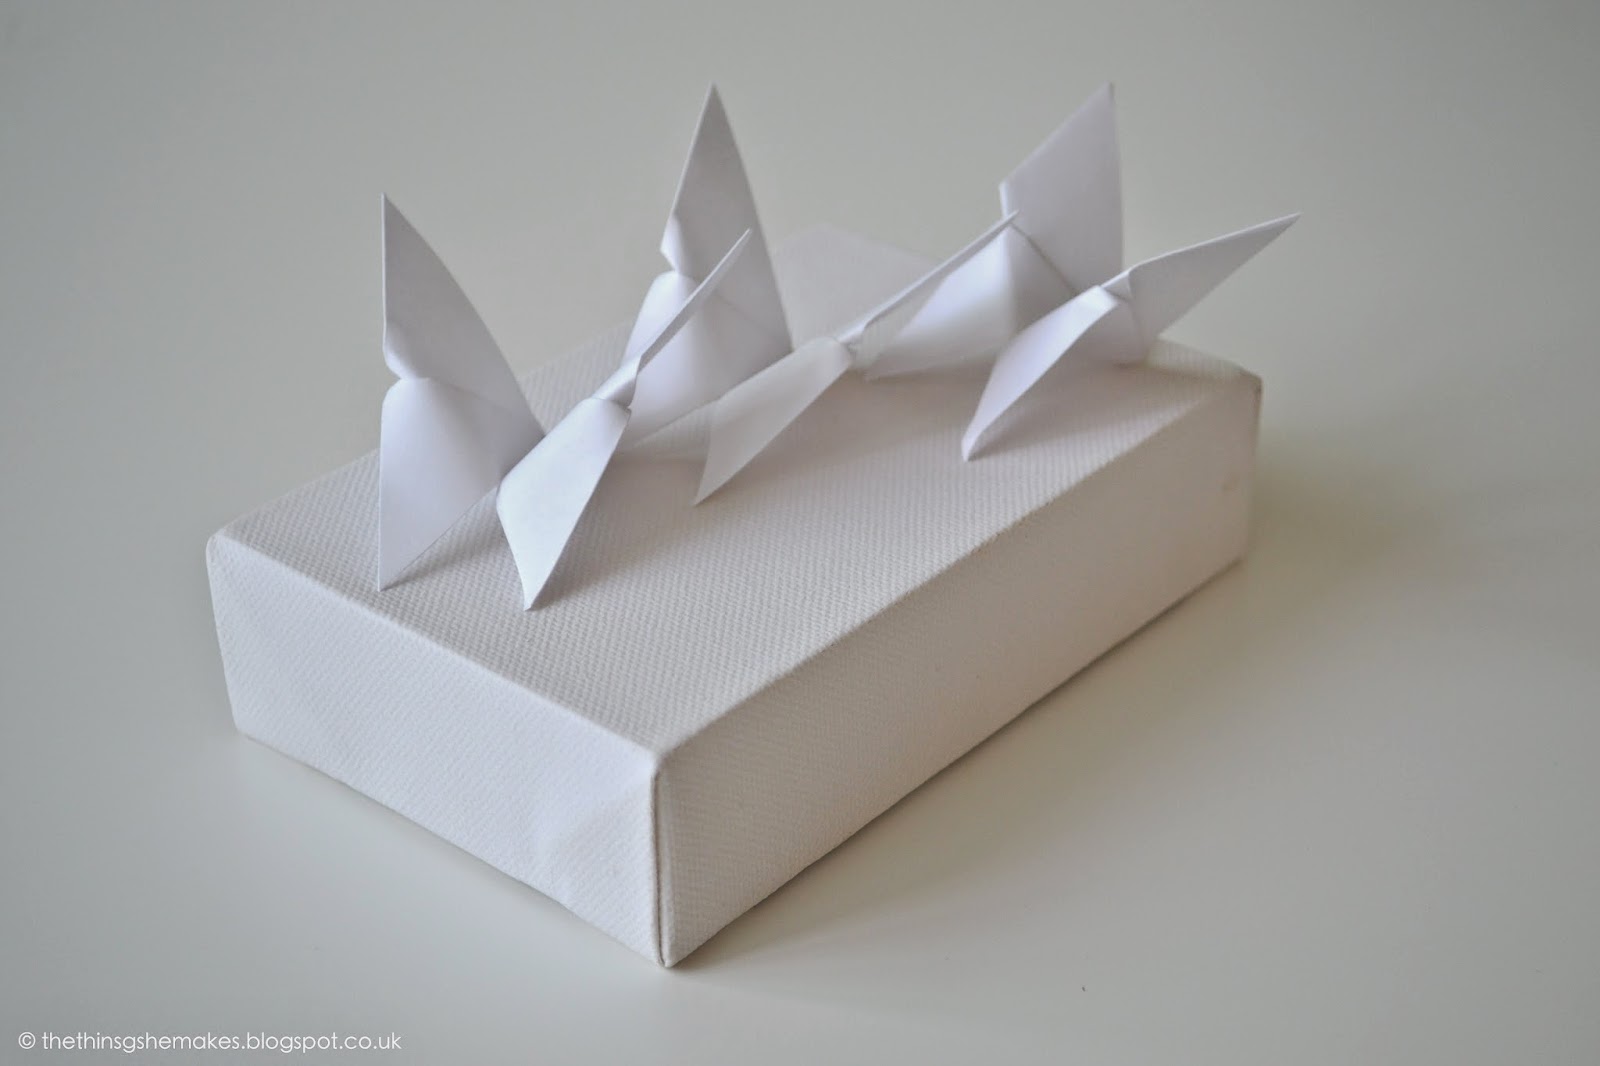
...and they're also great for decorating any plain storage boxes or for making your present
wrapping really fancy:
wrapping really fancy:


These can also be threaded to make beautiful garlands, mobiles, hangings and decorations. Pretty, colourful papers would let you tailor them to the project or your decor.
Turns out, actually doing origami compared to explaining it are two very different things.....

see you next time x
No comments:
Post a Comment