
I am so happy I finally figured out how to make granola that sticks together in clumps!
When I visited my friend Carrie in Kansas over spring break, we bought the most delicious granola at her local health food store. It's the kind of granola that holds together in big, texture-y chunks. I'm crazy about that texture in a granola. I became a little obsessed with duplicating it at home.
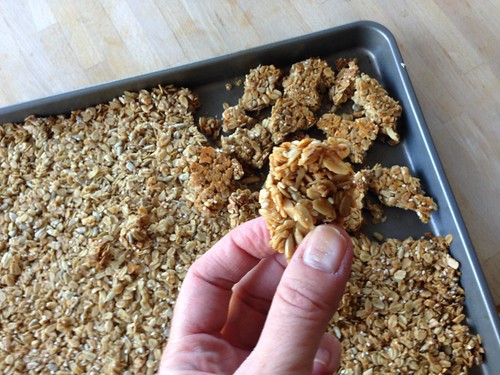
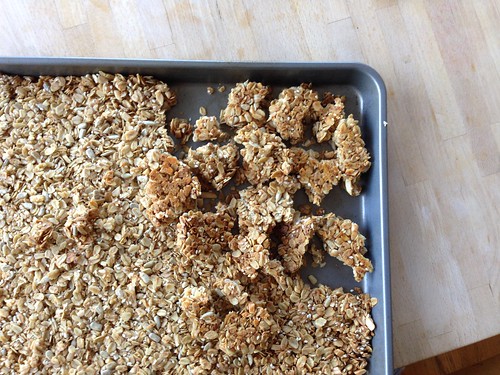
I honestly wonder why all granola recipes say to stir the granola every 10-20 minutes while you are baking it. Because it turns out that if you don't stir, you will get a big sheet of granola that can be broken into chunks of whatever size you like. So easy! I help it clump up a bit by patting the granola mixture firmly into the pan before baking it. Use a low temp and bake until it's a little bit golden. When you remove it from the oven don't stir it then, either. Just let it cool completely in the pan. When it is completely cool, break into chunks. You can make very big chunks and they are practically granola bars. This type of granola is great for snacking and packing into lunches.
I've been slightly experimenting with my old reliable recipe. Obviously "anything goes" with granola, but here is my latest version:
Sweet Granola*
4 c. rolled oats
1/4 c. whole wheat flour
1/4 c. sesame seeds
1/2 c. sunflower seeds
1/4 c. toasted wheat germ
2 T. brown sugar
1/2 c. of chopped almonds (I've been chopping them pretty small for this)
very scant half-teaspoon salt (or actually a slightly rounded 1/4 t.)
Mix your dry ingredients together in a bowl and then add:
1/3 c. neutral oil
1/2 c. maple syrup
1 t. vanilla
Mix it all together until the dry mixture is thoroughly moistened. Pat it all evenly into a large baking sheet (you can spray the sheet with cooking spray if desired. It helps keep the edges from sticking). I pat it down pretty firmly. Bake in a low oven (about 300 F) for 40-ish minutes. Start checking at 30 mins.
Remove from oven when golden. Allow to cool completely without stirring. Then break into large or small chunks and store in an airtight container.
*so named because this is sweeter than the honey version. For the honey version omit the brown sugar and the maple syrup. Use 1/2 c. honey. Definitely start checking at 30 mins and adjust your oven temp if necessary. The honey version browns much more quickly than the maple version. (It also holds together even more firmly). I've been alternating types until we figure out which is our favorite.
No comments:
Post a Comment