Laman

Monday, April 7, 2014

How to Make Shortbread Easter Biscuits

A few weeks ago, I posted about my morning of icing experiments, so I decided to put what I had learned to the test with some simple pastel Easter biscuits.  This is also a little continuation from last years Spring Bicuit Lollipop decoration experiment, using cutters bought to create these.

I started with making up a batch of shortbread biscuits, using this recipe, but reducing the quantities and rolling the biscuits around 1/2cm thick.  This limits the spread that they will make whilst cooking:
  [To keep the biscuits in shape and with crisp lines, I removed them from the bake around 7 minutes in and re-cut them them - the limited spread means that only the very edges will be re-cut.  Thicker biscuits will spread much more, meaning you'll cut and waste much more of the biscuit].

Once completely baked [around 10 minutes], I made any final cuts and left them to completely cool and in the meantime, I mixed up some pastel coloured icing and loaded my piping bags to decorate using a few of the techniques I tried in the experiment post:
The spread of the flood icing is very dependant on how level the top of the biscuit is - this could have done with and taller layer of icing to line the biscuit and allow for more flood icing to completely level the biscuit surface out.

By far my favourite - a little trickier to navigate around the dots, but you can't beat a polka bunny:
But sometime, simple is just as good [and much quicker!]:

Leave to fully set for 10-15 minutes and they will be ready to eat, pack away or wrap:

If you are looking for a chocolate alternative, these might be just up someones street: 
see you next time x

Friday, April 4, 2014

Then and Now: Couture Cupcakes

Have I ever told you how awful the first birthday cake I made was? It was for my son's second birthday  and I had no idea how to ice cakes, but figured that it couldn't be too difficult. We--ell!
I've suppressed the memory, but I shed a lot of tears of frustration that night. A lot.
I can't even find a photo of it - it was so bad that my husband couldn't bring himself to take a picture. Cake wreck. Really.
Now, I still don't see myself as a hot-shot cake decorator, but I'm generally content with the outcome, and take a few photo's to boot!

So, just as a Friday-night-funny, I thought I'd show you a then-and-now of "couture" cupcakes that I've done. The black and white set is from the past week, and the others are from 2 years ago.
(I actually thought that they were quite good at the time!)


 Then:


Now: 


Yes, there's still room for improvement - but at least I can look at the photos and not cringe! 

: ) 

xxM 

How to Make Easter Name Holders

I'm taking to plastic figures with a craft knife again - this time, I'm after the hens and chickens.
They came from a huge pack of farm animals that I picked up in B&M for £2.99.
Rather than slicing them completely in half, I made cuts through the top centre, stopping at the middle to provide a little slot for name cards, place cards and food tags or whatever I choose to rest:
...and then it was back to my other favourite - nail varnish for a slightly more uniform finish:
....add a few coats:
...and then leave to dry [for around an least an hour]:
Once completely dry, they are ready to hold your important notices and messages:

 I'm using them for decorating a little early Easter bake sale we're having at work today:


So simple and fairly quick to whip up, these have got me on the look out for other plastic figures I can transform in to holders for parties - definitely something unique to incorporate in to a Wedding!

 see you next time x

Wednesday, April 2, 2014

Dip Glitter Paper Feathers

Sometimes, it’s nice to have a small project to spend a short amount of time on and after completing my Hillarys competition entry, I wanted to have a complete change and use up some card stock that I found after a recent supplies tidy up.  The card was in pretty shades of Spring and pastel – perfect for a little garland project.

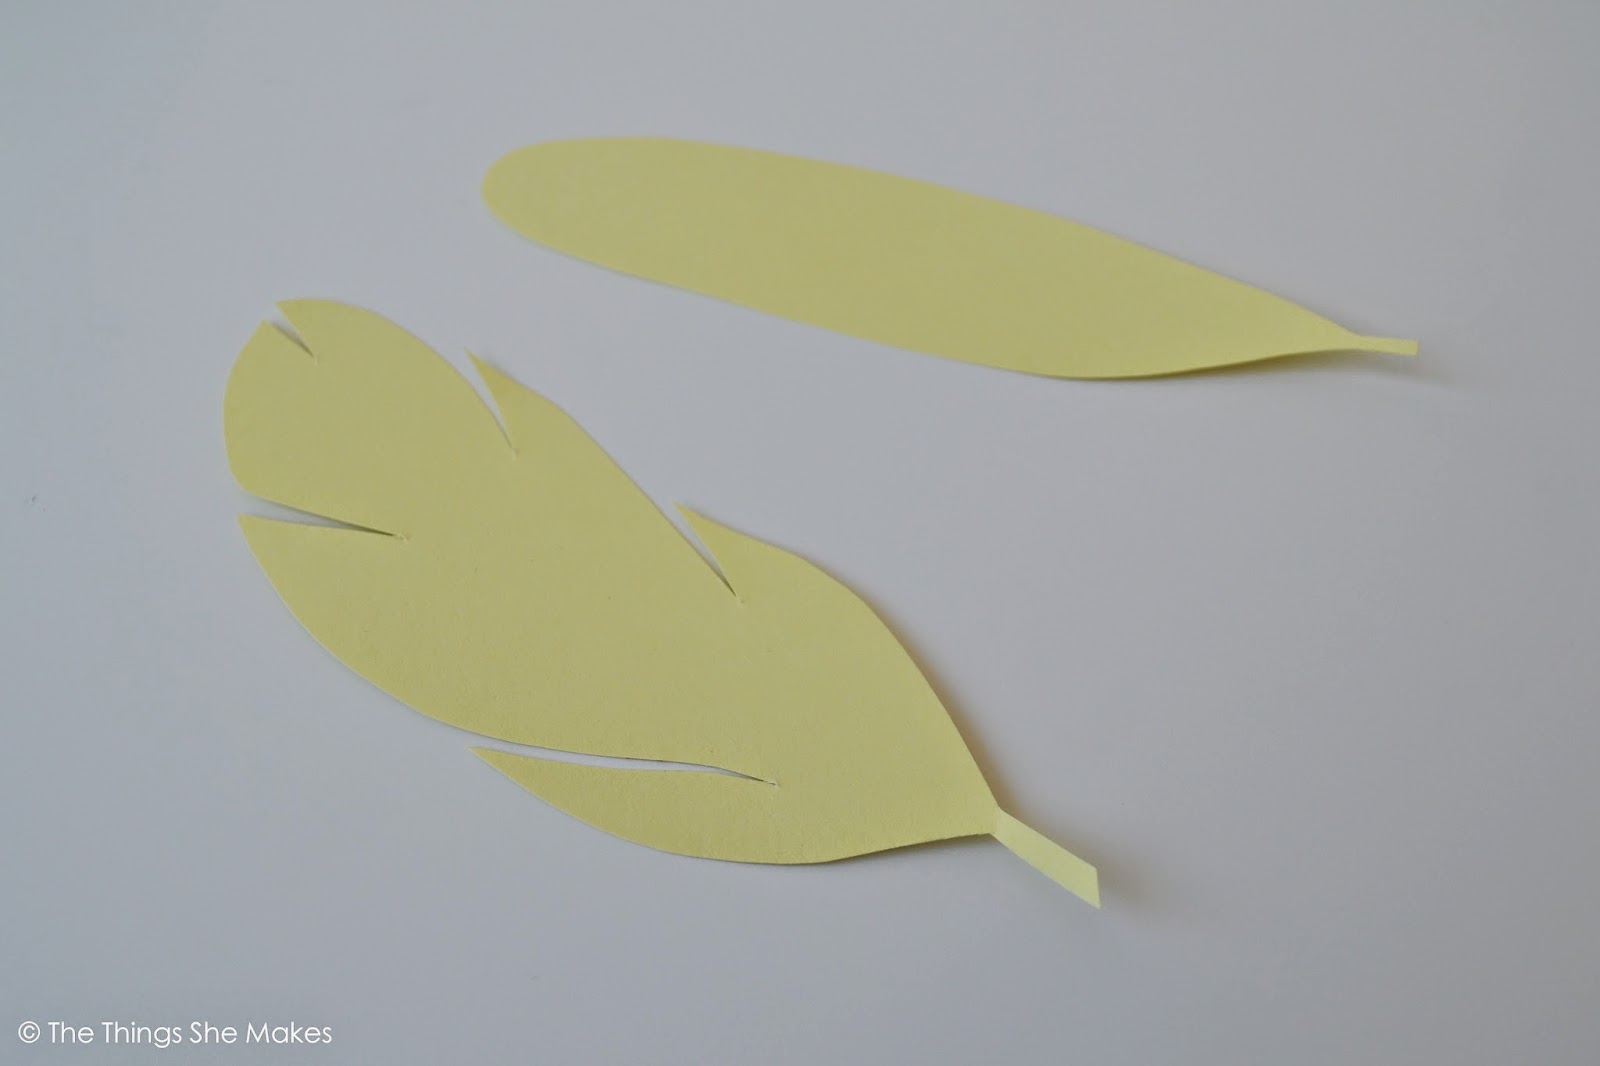
My feather templates were also kept simple, drawn freehand with a google image search and this post for inspiration.  I drew two slightly different shapes, but kept the sizes to half of an A5 card sheet: 
I used nothing more than a pair of scissors to create my feathers and then closing them, used the scissor tips to trace the vein down the centre of each feather:
This created a scored line that could then be folded in to and shaped to give each feather some movement and add a little interest:
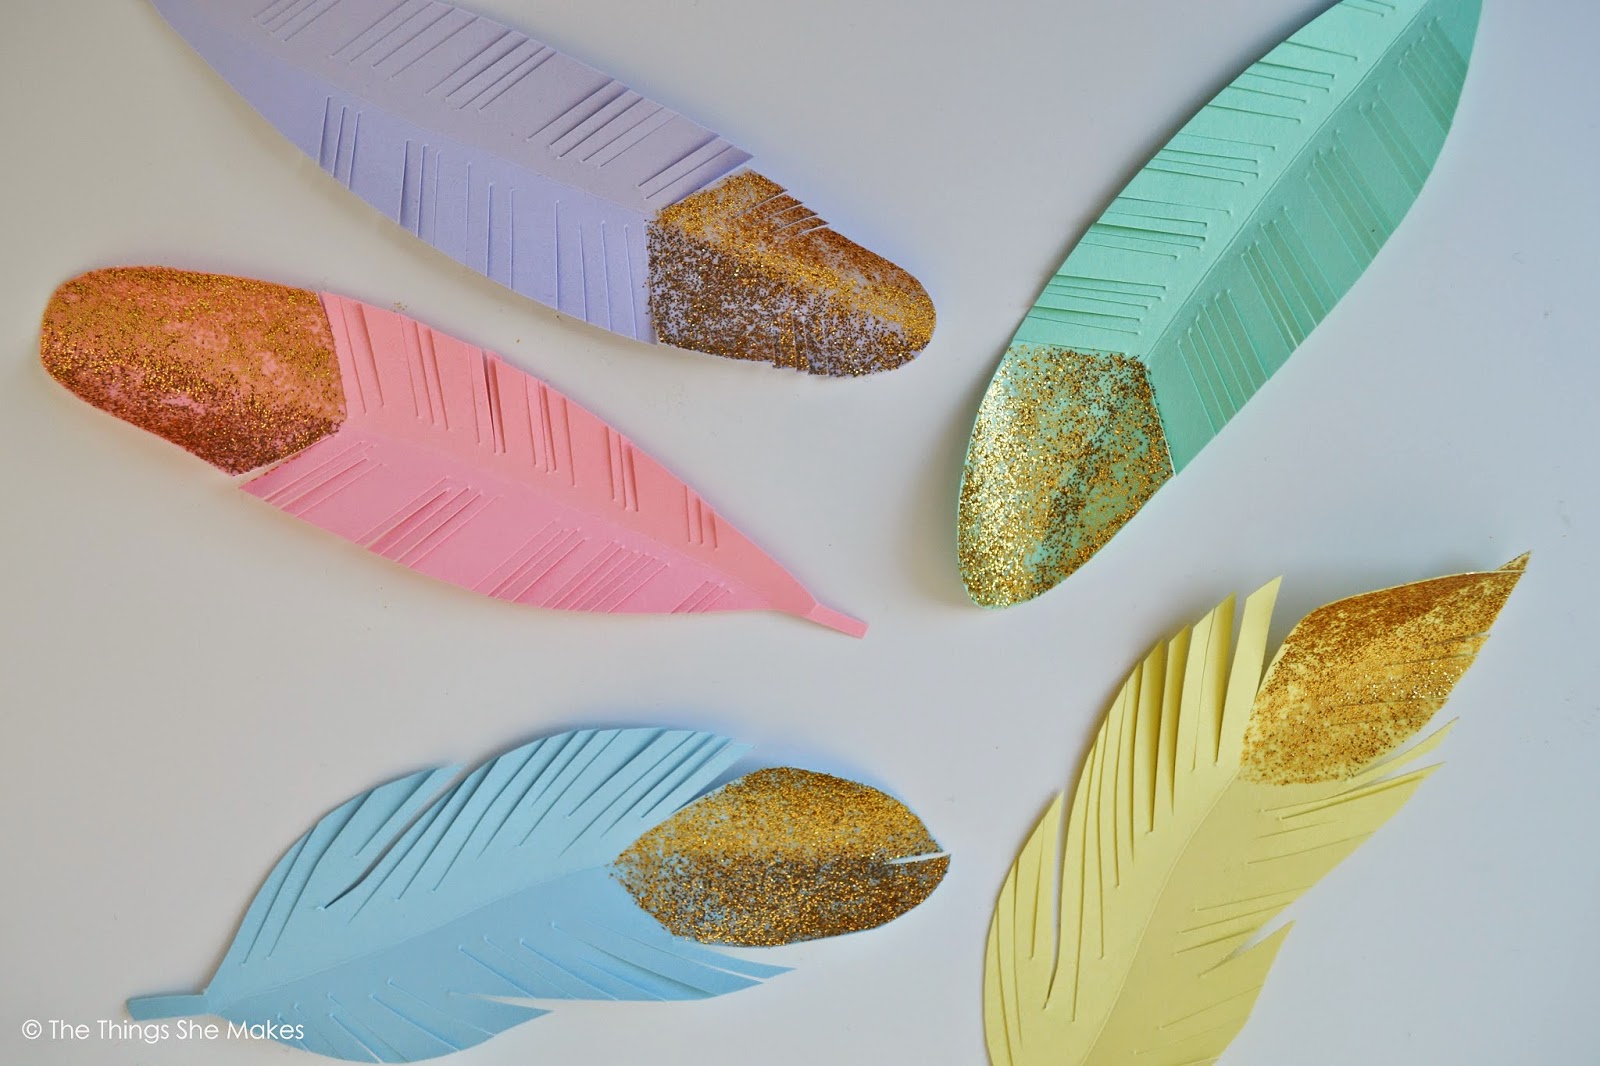
Really, the feathers could be completed here, either stuck or threaded to some string and hung where is can be seen, but you know I need to add a little glitter and sparkle somewhere, so I got my glitter glue out and painted the tips with a couple of coats to build up the colour:


Once dried, I added a little further detail to around half of the feathers by taking the scissors to them again and cutting sections to give a more feathered effect around the shapes:
 These are pretty enough to be stored together as a collective in a bowl or added to presents as tags, but I decided to stick mine to a thread and hang on the wall to catch a bit of Spring sunshine:

see you next time x